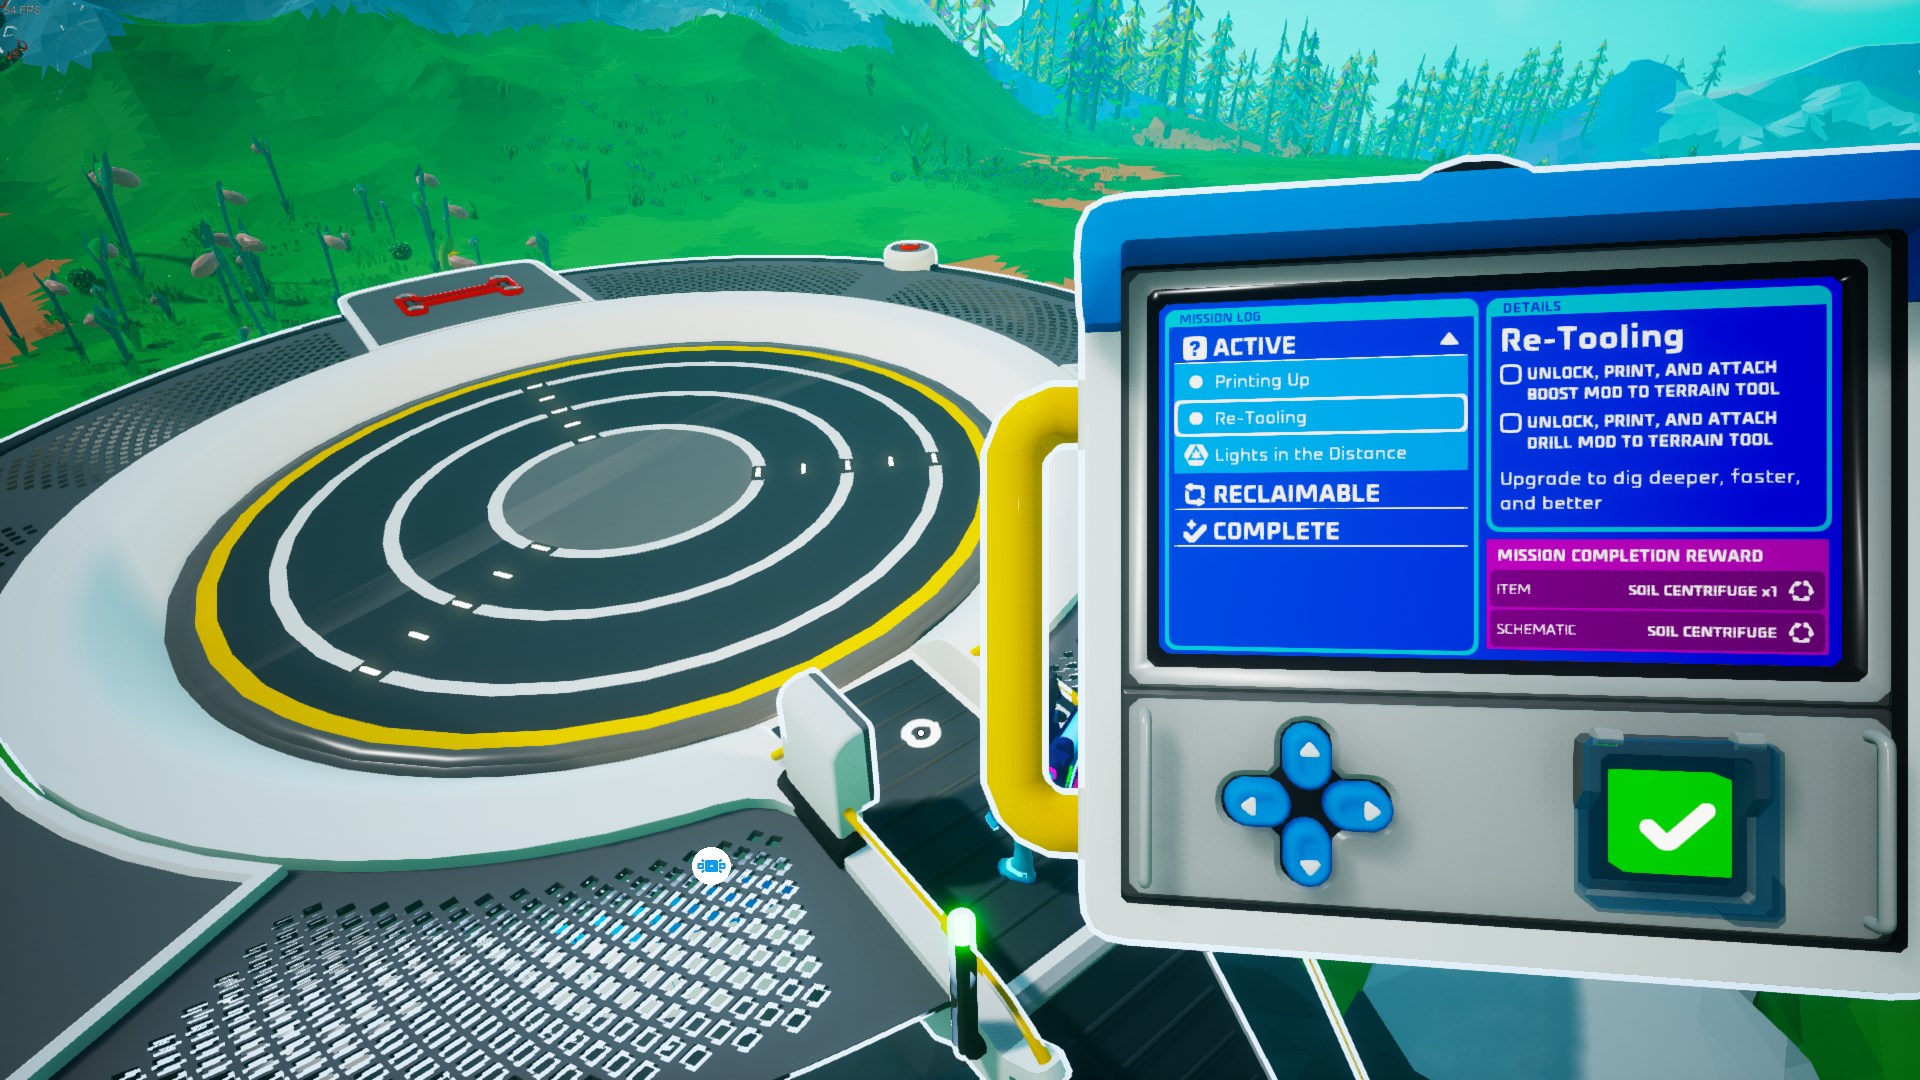
Adding Mission Panels to Items
Creating the Mission Panel
Note
This is an advanced topic, so it is preferred that you already have some experience modding Astroneer.
In Unreal Engine, Starting from the Content folder in the ModdingKit Project, right click in the Content Browser and create a folder named ControlPanels then in that folder create another called Missions, and after creating those directories the path should now look something like this: /Content/ControlPanels/Missions/ in the Content Browser.
Note
Any asset created in the /Content/ControlPanels/Missions/ directory, is not to be packed with the mod itself, we are creating these assets just for referencing purposes.
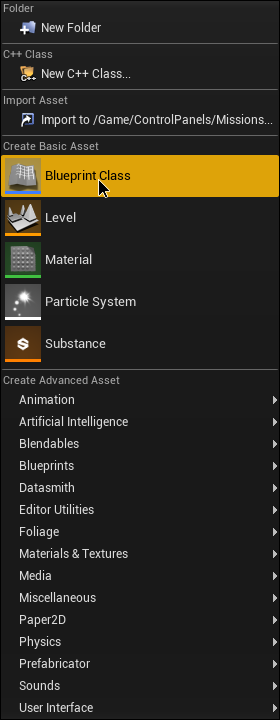
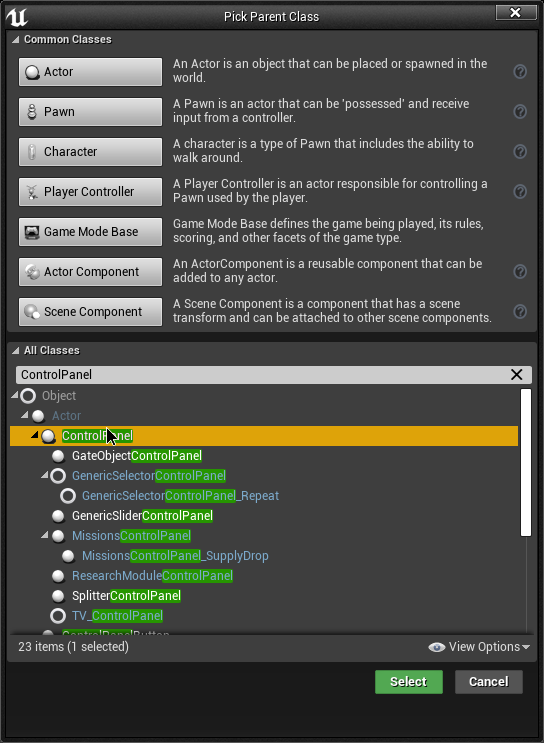
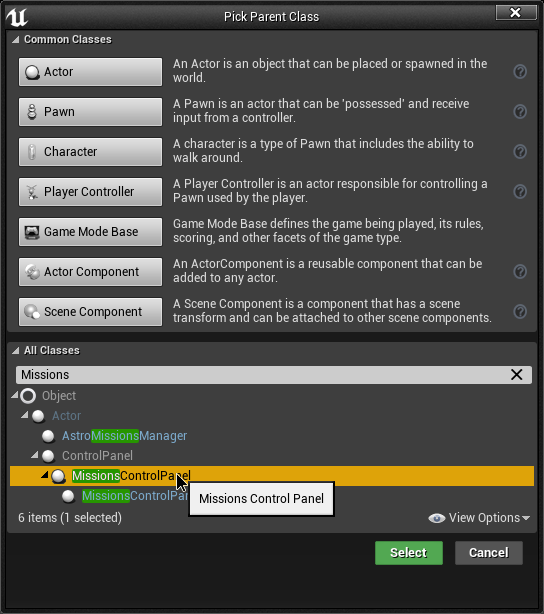
Go to the /Content/ControlPanels/Missions/ directory that you just created in the Content Browser, and right click in the Content Browser to create a new BP Class that inherits from the ControlPanel Class, and name it MissionsControlPanel.
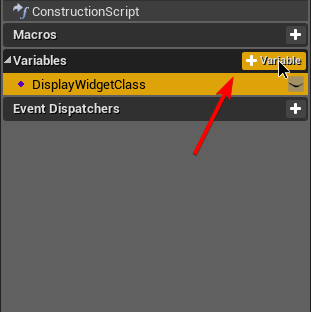
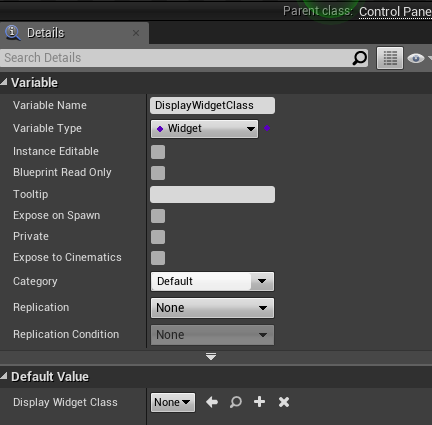
In the asset, create a variable and name it exactly this DisplayWidgetClass, then in the properties of the variable set it to be a Widget Class Reference, after doing that now compile and save this asset.
Now back to the Missions folder in the Content Browser, right click in the Content Browser and create a new BP Class that instead now inherits from the MissionsControlPanel and name it MissionsControlPanel_SupplyDrop.
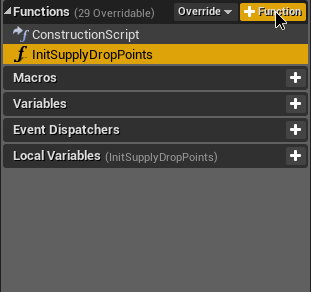
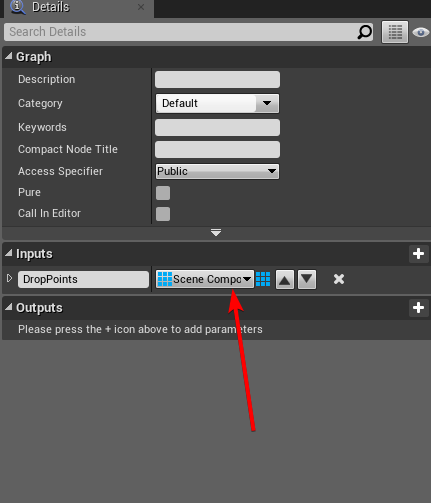
Now in this asset, create a new function and name it InitSupplyDropPoints and then add an input which should be an array of Scene Component Object References, now compile and save this asset.
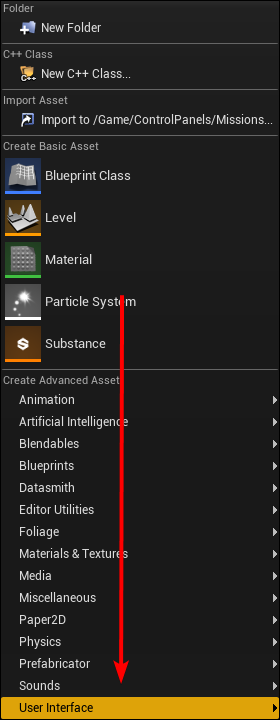
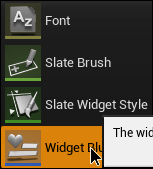
Again, back to the Missions folder in the Content Browser, now right click in the Content Browser and create a Widget Blueprint by going to User Interface -> Widget Blueprint in the right click menu, and name it MissionPanelPrimary
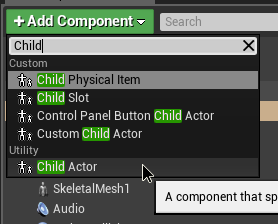
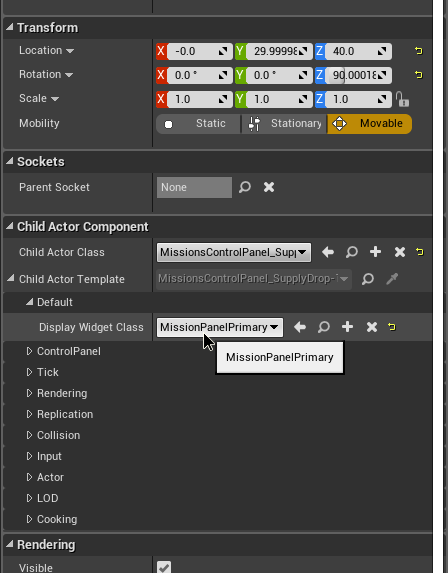
After creating the assets and the functions/variables for them, go to your item’s BP, and create a Child Actor Component in the BP, position it how you like and set the Child Actor Class to the MissionsControlPanel_SupplyDrop class.
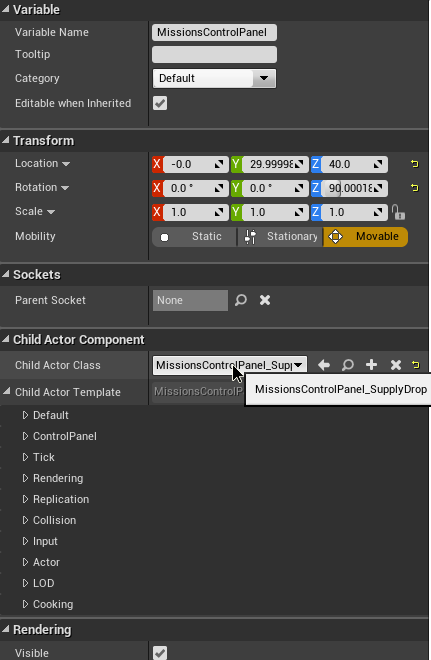
Now in the Child Actor Template dropdown, click on the Default dropdown and set the DisplayWidgetClass’s class to MissionPanelPrimary
Creating & Linking the Supply Drop Points
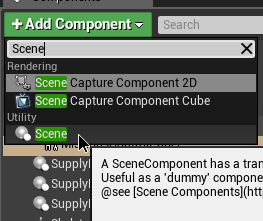
In your items BP create 3 new Scene Components and name them accordingly (ex. SupplyDropPoint 1, 2, 3)
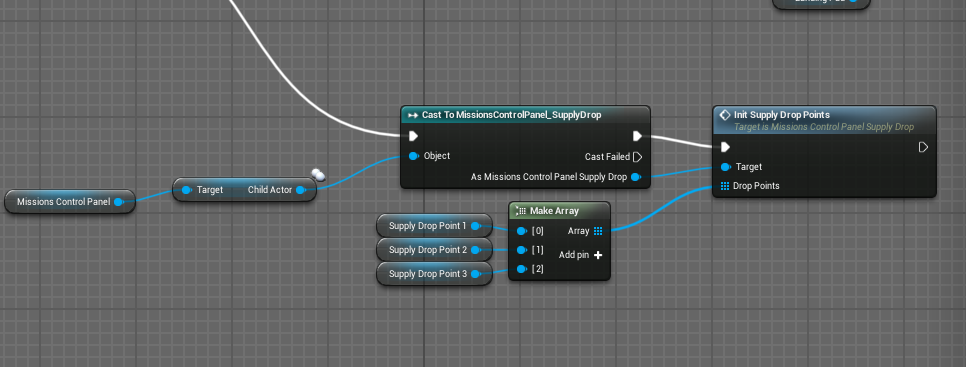
Then in the BP Graph, add a Cast to MissionsControlPanel_SupplyDrop node, and get your Child Actor Component’s Child Actor by using the Get Child Actor and have the target be the Child Actor Component, and connect the Actor Object Reference from the Get Child Actor node to the Object input on the Cast to node.
Now connect the Cast to node’s Exec input to somewhere on the Begin Play Event, and then call the InitSupplyDropPoints using the As MissionsControlPanel_SupplyDrop output.
Get the SupplyDropPoints made earlier and use a Make Array node to turn all 3 into an array and connect the array output to the Drop Points input on the function
(use image below for reference if confused)
Result
There you have it, now you can compile and save, package the mod and you should have a working mission panel on your item!